Sheet 002 · Woodworking
Building a Low Profile Overhead Lumber Rack
- Date
- Read
- 3 min
- Sheet
- 002
- Sections
- 5
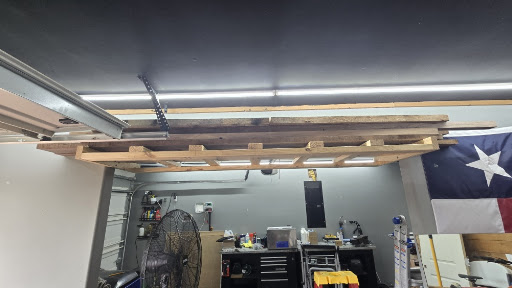
When you’re working in a garage with a low bulkhead, every inch of headroom is a premium. I needed a way to store my lumber stash without creating a head-height hazard. The result is this 93” Balanced-T Overhead Rack.
The Design Concept
My garage is designed with a wall between the two car garage door and the one car garage door due to the roof design. This leaves a significant amount of wasted space but also provides an opportunity for some overhead storage. The core of this build is a torsion-grid frame designed to be installed solo. By orienting the 2x4 arms and rails “on the flat” (1.5” thickness), the entire structure only drops 3.5” from the header. I did a rough 3D model in Onshape, and used Gemini to help with ideation and structural analysis.
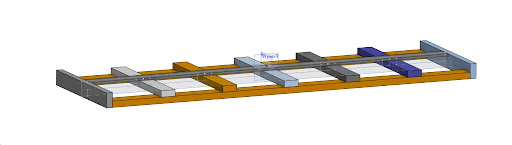
Key Specs:
- Total Span: 93 inches (fitting perfectly into the bulkhead opening).
- Support Nodes: 7 total points (5 center arms + 2 wall-anchored endcaps).
- Materials: 2x4 Southern Yellow Pine and 1/2” plywood spacers.
Engineering the Load
Because this rack is a “Balanced T”, the center of gravity stays directly under the header assuming the sides are loaded evenly.
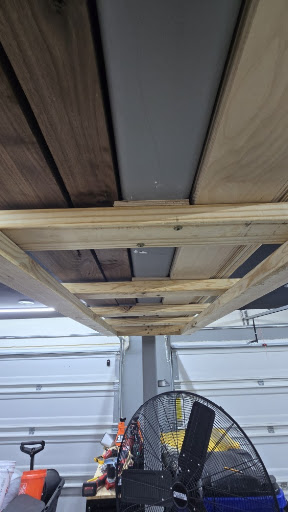
- The “Inset” Rail: The 90” rails are inset between two endcaps. These endcaps are lagged directly into the wall studs with 4” structural screws, killing any lateral sway when sliding heavy boards on from the side, and transfering the load directly to the floor.
- No-Sag Spacing: I opted for 5 center arms to bring the support span down to roughly 15 inches. This is critical for hardwoods like walnut, which can develop a permanent “creep” or sag if supported too infrequently in high humidity.
- Direct-to-Header Connection: To maximize headroom and strength, the structural screws drive through the 2x4 arms, which are oriented horizontally, through the 1/2” plywood spacers, and into the header. This puts the primary weight-bearing members in direct tension with the house framing.
Assembly & Installation
The trick to a one-person install on a 90” rack is doing it in stages:
- Step 1: Mount the side endcaps to the wall studs. These act as “ledger boards” to hold the rails.
- Step 2: Attach the rails using a clamp as a temporary 3rd hand while screwing them in.
- Step 3: Line up the support arms, add the spacer which provides friction, and screw them into the rails.
- Step 4: For extra strength, attach the support arms to the header using structural screws.
Final Results
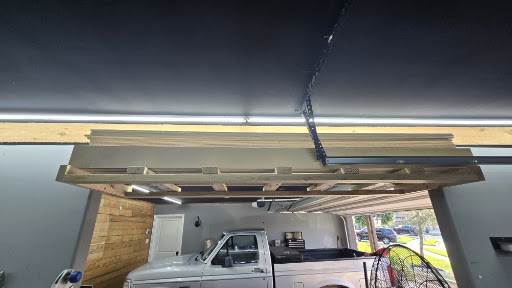
The rack is rock-solid. Even fully loaded with premium walnut and plywood, there is zero visible deflection, and I can do pull ups without any hesitation. It’s tucked high enough that it doesn’t interfere with walking around the garage, while keeping the lumber organized and off the floor.
Bill of Materials:
- Lumber: 4x 10-foot 2x4 SYP, 1/2” Plywood Strip (Spacer).
- Fasteners:
- GRK RSS 5/16” x 4” (Spine to Header).
- GRK R4 #10 x 3-1/8” (Endcap to rail assembly. 2-1/2” probably would’ve been better since 3-1/8” is too long for the arm to rail connection).
- 2-1/2” Deck Screw (Arm to Rail attachment, already had these laying around)